General

Natural Ways to Remove Orange Mushrooms | Fast and Easy Techniques!

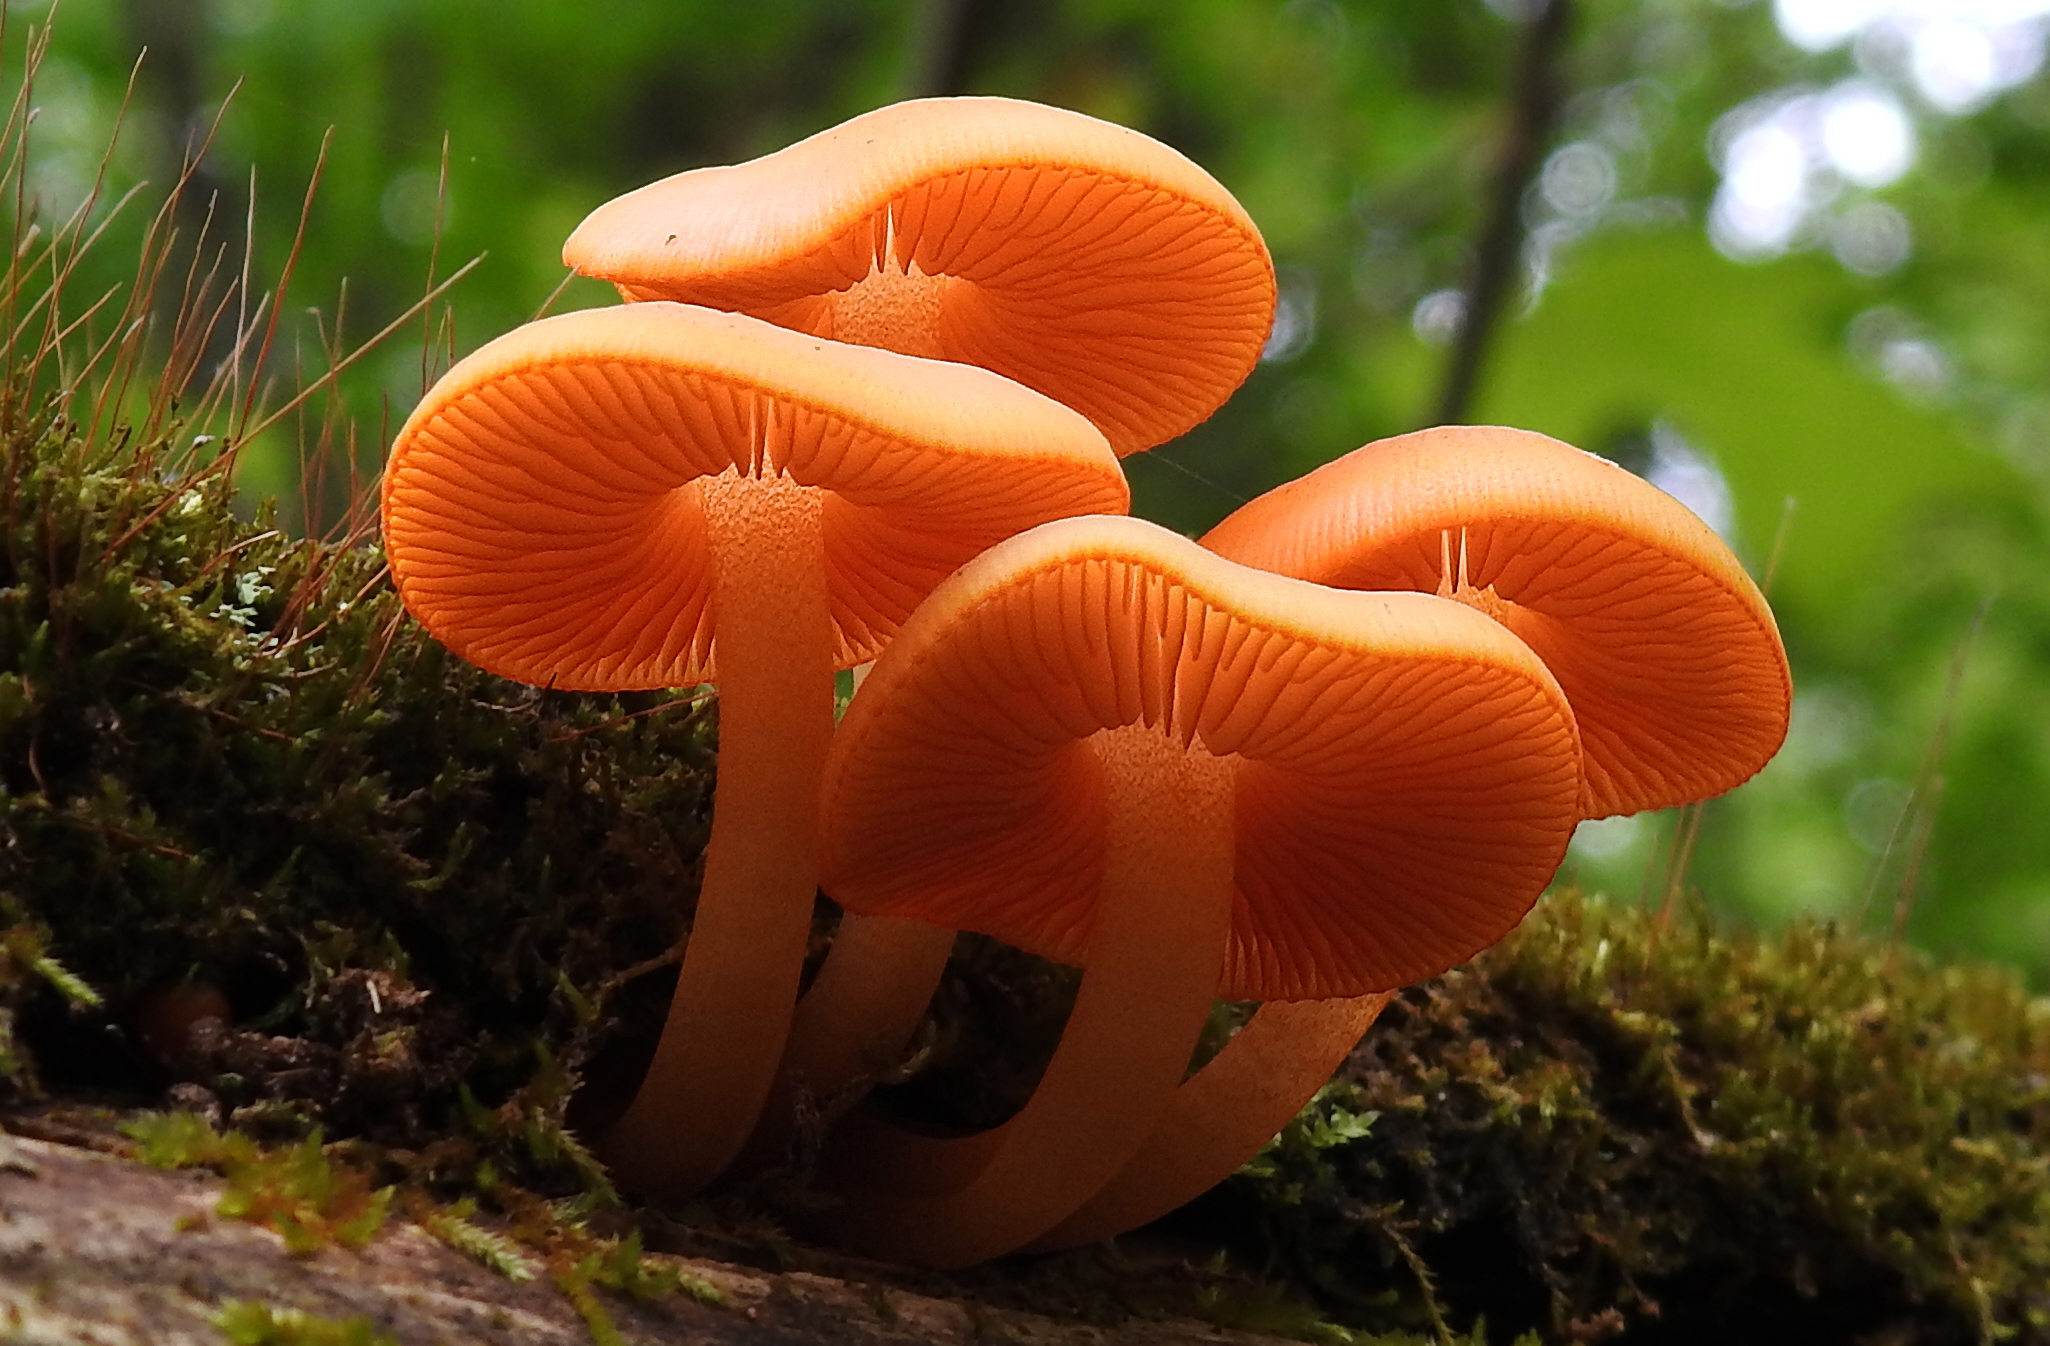
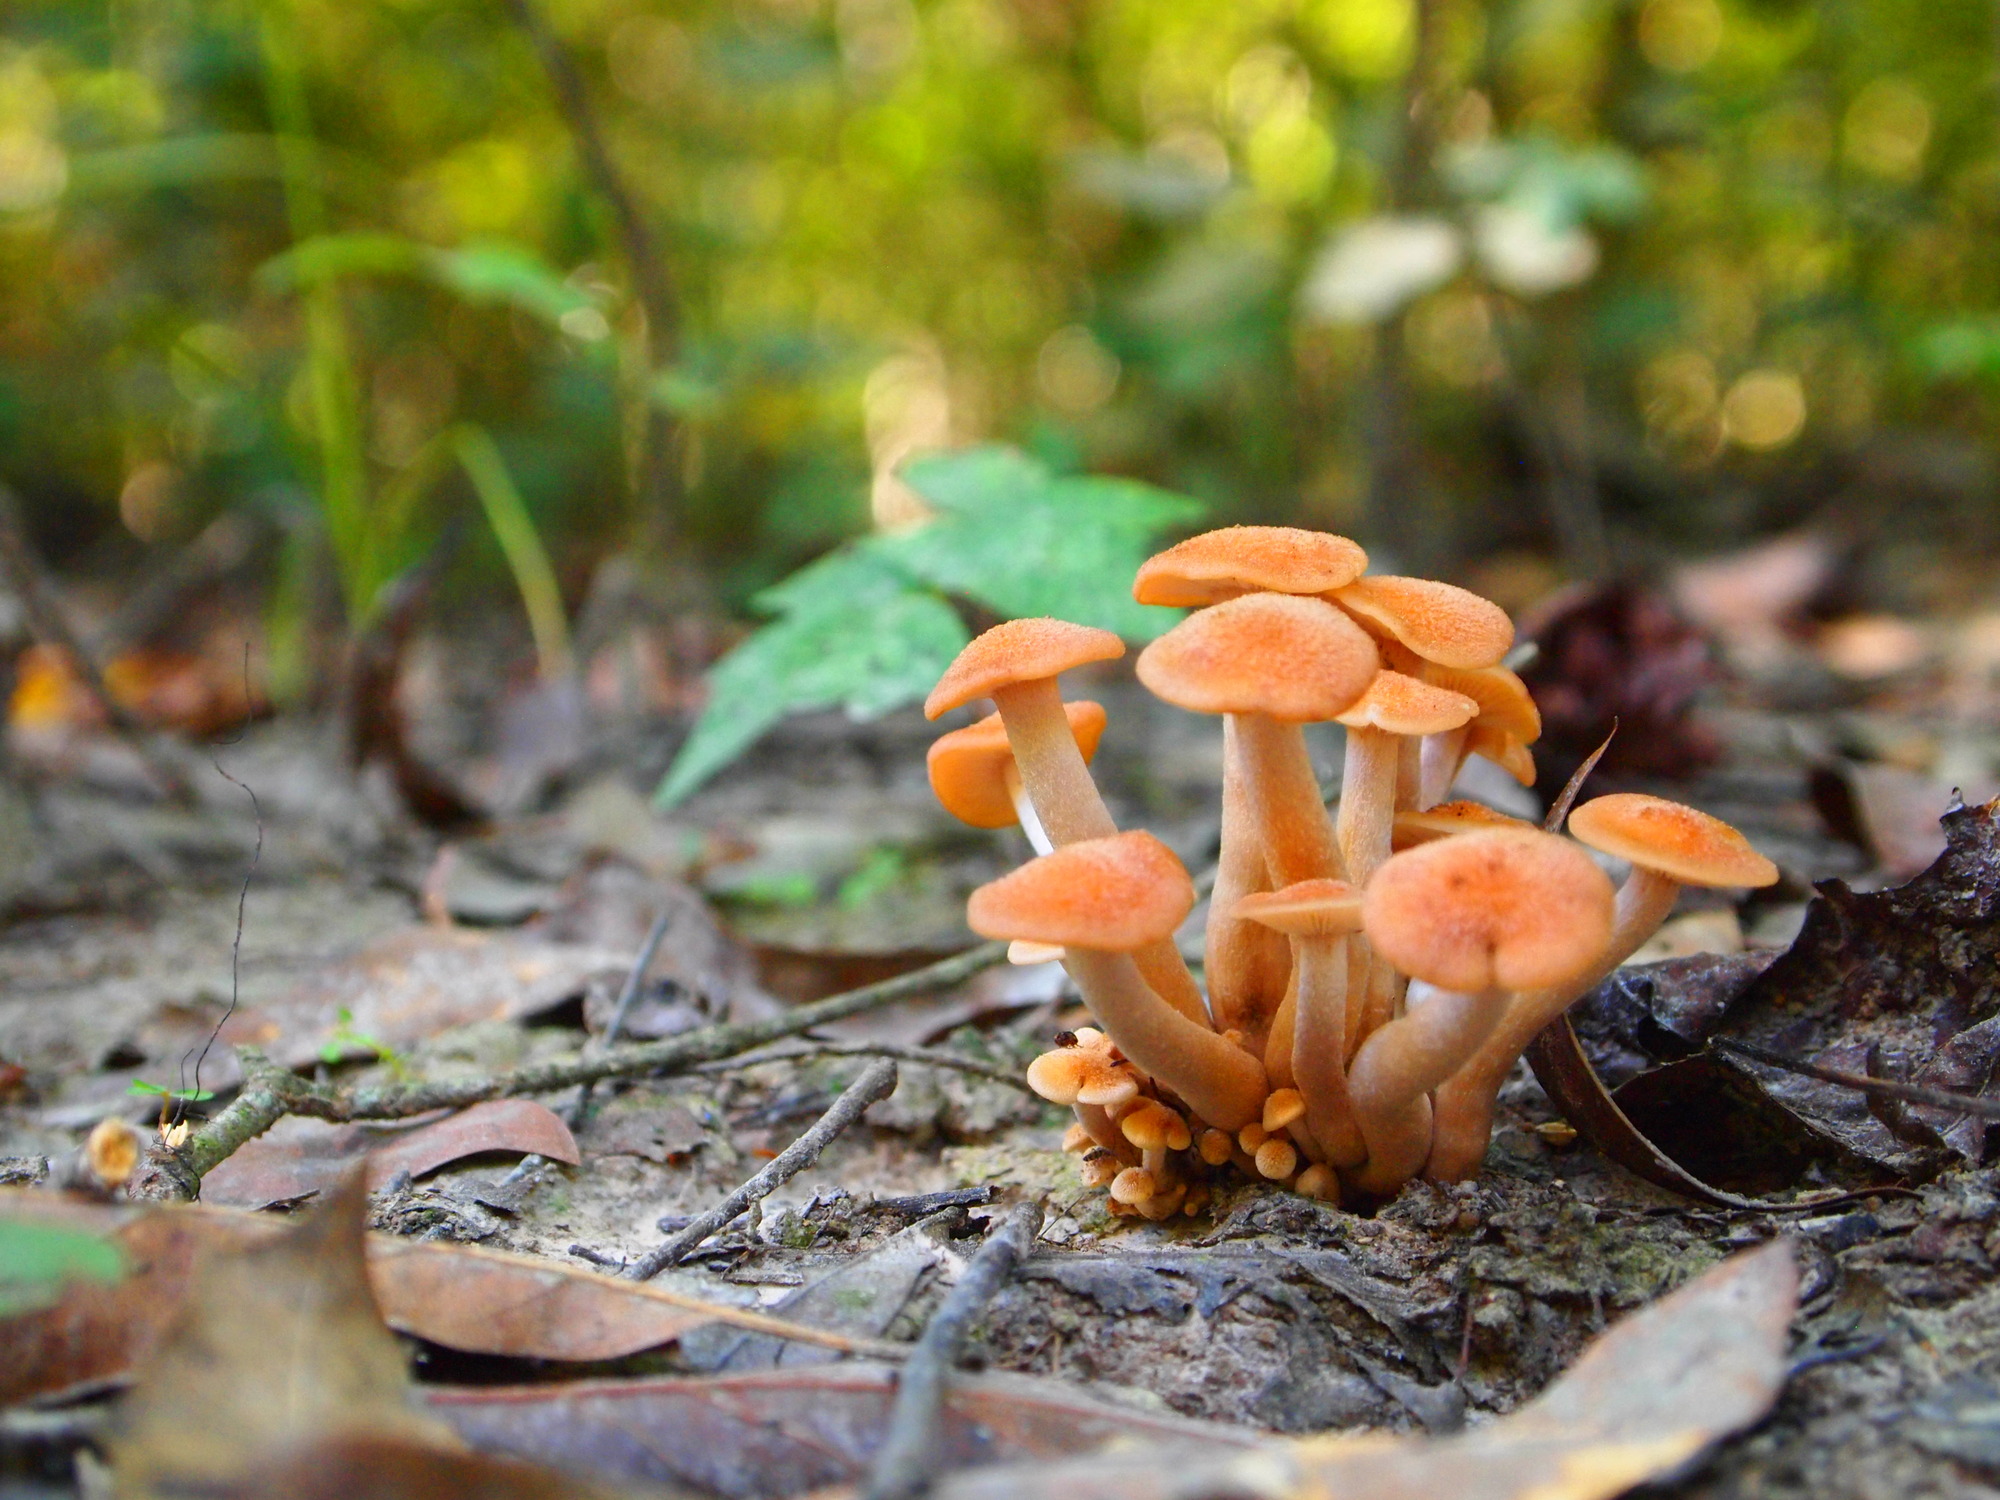
Mushrooms have many benefits for the environment. Its main role is to decompose organic matter. Most of the mushrooms that sprout in the backyard are edible, but not all of them. For instance, orange mushrooms might look tempting. Some are safe to eat while others are better not ingested.

Those who are not sure of the safety of the mushrooms prefer to remove them. To eradicate orange mushrooms without chemicals can be done in several ways. Here are some methods that can be done without the need for chemical fungicides.

Manual Removal

This is the easiest way to remove the orange mushrooms in your backyard. Make sure to protect your hands by using gloves. Carefully pull the mushrooms out of the ground and make sure to get rid of the ensure plant and its roots. Do not miss any part of the mushroom as it can grow back.

Mulching

Mulching is the process of putting down a thick layer of mulch over the affected area. This can help stop the growth of the orange mushrooms. Mulch prevents the sunlight from going through the soil while lowering its moisture level. This makes it difficult for the mushroom to thrive.

mushrooms

Use Natural Fungicides

Different types of natural fungicides can be used to stop the orange mushrooms from growing back. Here are some of the most common things that can be used which are often available in the pantry.

Baking Soda

Baking soda is a common natural fungicide that can be found in all homes. Baking soda is used for various applications – cooking, cleaning, pedicures, etc. This raises the soil’s alkalinity, killing mushrooms for days.

  • Soak or spray mushrooms using a solution of two tablespoons of baking soda in a gallon of water.

Dish Soap

This is another quick way to remove mushrooms in your backyard. It works as fast as baking soda and is easily accessible in every home too.

  • Make a solution of dish soap with water (recommended 1 to 2 tablespoons of soap into three gallons of water.)
  • Create some holes around the mushrooms
  • Pour the soap water solution over them and into the holes.

Remove Orange Mushrooms

Vinegar

Vinegar is naturally corrosive. You must know how to properly use this in removing orange mushrooms in your backyard.

  • Dilute vinegar to water using a 1:4 ratio. Mix well before spraying it on the mushrooms.

Regularly Inspect and Maintain the Area

To make sure that the mushrooms do not grow back take the time to regularly check the area where the fungi often grows. Get rid of any orange mushroom that you see and do not wait for it to grow. Keeping an eye out for these mushrooms and using the natural methods above can help stop the mushrooms from spreading and becoming a common backyard problem.

You must know how to identify mushrooms accurately before consuming them. While some orange mushrooms are edible, others can be toxic and may be hallucinogenic. Without proper expertise, it is safe to just avoid consuming them. Use the methods above to effectively remove the orange mushrooms from your backyard.

Business

Things That Help You to Consider Getting Turf for Your Lawn

You must choose a new turf for your commercial or residential property, where you want to change the old grass on your lawn or install a new one to complete the construction project. There are many factors that you must know and take into consideration. Finding suitable grass from a Natural Grass Manufacturer must comply with your local climate, which is not easy, but asking an expert in your area is the best place for you to start. No matter the route you choose, these are some factors you must consider when selecting turf for your property.

Know what lawn to choose

There are turfs used mainly by people, such as fine fescue, Kentucky bluegrass, and perennial ryegrass. When you ask an expert, they will choose Kentucky bluegrass, one of the durable cool-season grasses necessary when your grass is expected to manage high foot traffic, like pets and kids running around it. However, not all grass mixtures can manage constant usage, which you need to consider.


Requirements and soil type

When choosing turf, your soil’s health, type, pH levels, and care requirements are necessary factors. If you live in a cold place, you must select Kentucky bluegrass and perennial ryegrass, which are partial to fertile, well-drained soil. This means the soil must be porous enough to let the water soak through it, reaching the roots and offering them the oxygen, moisture, and nutrients they need to survive.

Climate conditions

With any other type of greenery, grass species need certain climate conditions to survive. For example, the cold-resistant grass type common to other countries requires at least three to four hours of sunlight exposure. When finding the best grass for your property, consider local and regional weather conditions and temperatures.

Learn how much water it needs

Despite the variety, new-grown grass needs constant watering. Most contractors recommend watering your new grass three hours a day for a few weeks, resulting in an expensive water bill. When you consider how much water your grass needs, you should get the one that can retain more moisture, lessening the amount and frequency of watering.

Identify any maintenance requirements

One necessary factor that you can think about is the maintenance requirements. You better ask yourself how much energy, time, resources, and money you will commit to the proper lawn maintenance. Some turf types are higher maintenance than others, so you must research more before you get the right one.

Plan a budget

You know that turf prices will depend on where you plan and how much money you like to spend that must match your landscaping goals. Setting your budget will let you choose turf varieties and maintenance practices for the best lawn. It will ensure that you get a long-term lawn without exceeding your budget. You must calculate how much turf you will need for your project.

Before investing in natural grass for your property, you must check your soil type, climate, and maintenance needs. When you consider these factors, you will enjoy a lush and vibrant lawn that enhances the beauty of your property.

Business

DIY Troubleshooting for Minor Electrical Issues

In Sutton Coldfield, a homeowner encountered minor electrical issues and sought to perform preliminary troubleshooting while awaiting assistance from an emergency electrician. The proactive approach aimed to ensure the safety and functionality of the electrical system pending professional intervention.

Background:

The homeowner observed isolated electrical anomalies such as non-functional outlets, lighting inconsistencies, and the occasional tripping of circuit breakers. Recognizing the importance of timely resolution and safety, the homeowner opted to implement DIY troubleshooting measures in collaboration with an emergency electrician in Sutton Coldfield.

Steps Taken:

  1. Circuit Breaker Inspection:

The homeowner initiated the troubleshooting process by inspecting the circuit breakers in the electrical panel. Tripped breakers were reset by securely switching them off and then on to restore power to the affected areas.

  1. Outlet and Switch Inspection:

Thorough visual inspections of outlets and switches were conducted to detect signs of damage or irregularities such as burn marks, discoloration, or unusual odors. If any issues were identified, the affected components were promptly isolated from use.

  1. Testing GFCI Outlets:

Ground Fault Circuit Interrupter (GFCI) outlets were tested by engaging the “Test” and “Reset” buttons to ensure proper functionality. Any malfunctioning GFCIs were flagged for professional evaluation.

  1. Lighting Fixture Assessment:

To address lighting irregularities, the homeowner checked the condition of bulbs and their proper installation. Persistent issues were noted for review by the emergency electrician, considering the possibility of underlying wiring or fixture concerns.

  1. Extension Cord Inspection:

All extension cords were thoroughly examined for visible damage, fraying, or exposed wires. Any compromised cords were promptly replaced to mitigate the risk of electrical hazards.

emergency electrician in Sutton Coldfield

  1. Circuit Load Distribution:

Conscious effort was made to avoid overloading circuits, ensuring a balanced distribution of the electrical load to prevent tripped breakers and potential overheating.

  1. Appliance Testing:

Appliances displaying malfunctioning behavior were tested in alternate outlets to determine if the issue was isolated to the appliance or the electrical supply, providing additional clarity for the emergency electrician.

Collaboration with Emergency Electrician:

  • Professional Consultation: The homeowner recognized the importance of collaborating with an emergency electrician in Sutton Coldfield for a comprehensive assessment and resolution of the minor electrical issues, ensuring safety and functionality were effectively restored.
  • Safety Emphasis: Throughout the DIY troubleshooting process, the homeowner maintained a commitment to safety by exercising caution and refraining from undertaking repairs beyond their expertise, ultimately prioritizing professional intervention for any issues beyond minor troubleshooting.

Final Verdict

The collaborative effort between the homeowner and the emergency electrician in Sutton Coldfield underscored the significance of proactive DIY troubleshooting measures in addressing minor electrical issues while prioritizing safety and efficiency. This case study serves as a testament to the value of informed collaboration and safety-conscious practices in managing residential electrical challenges.